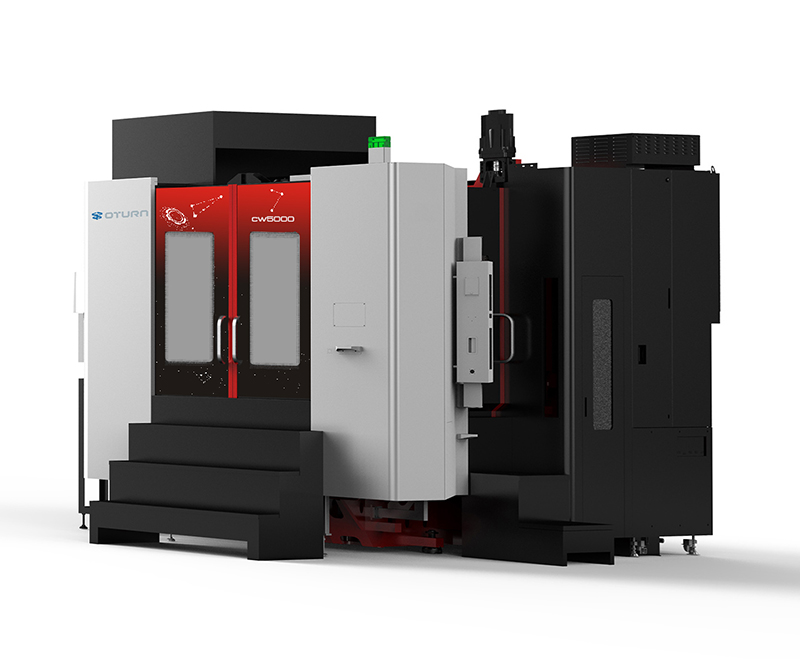
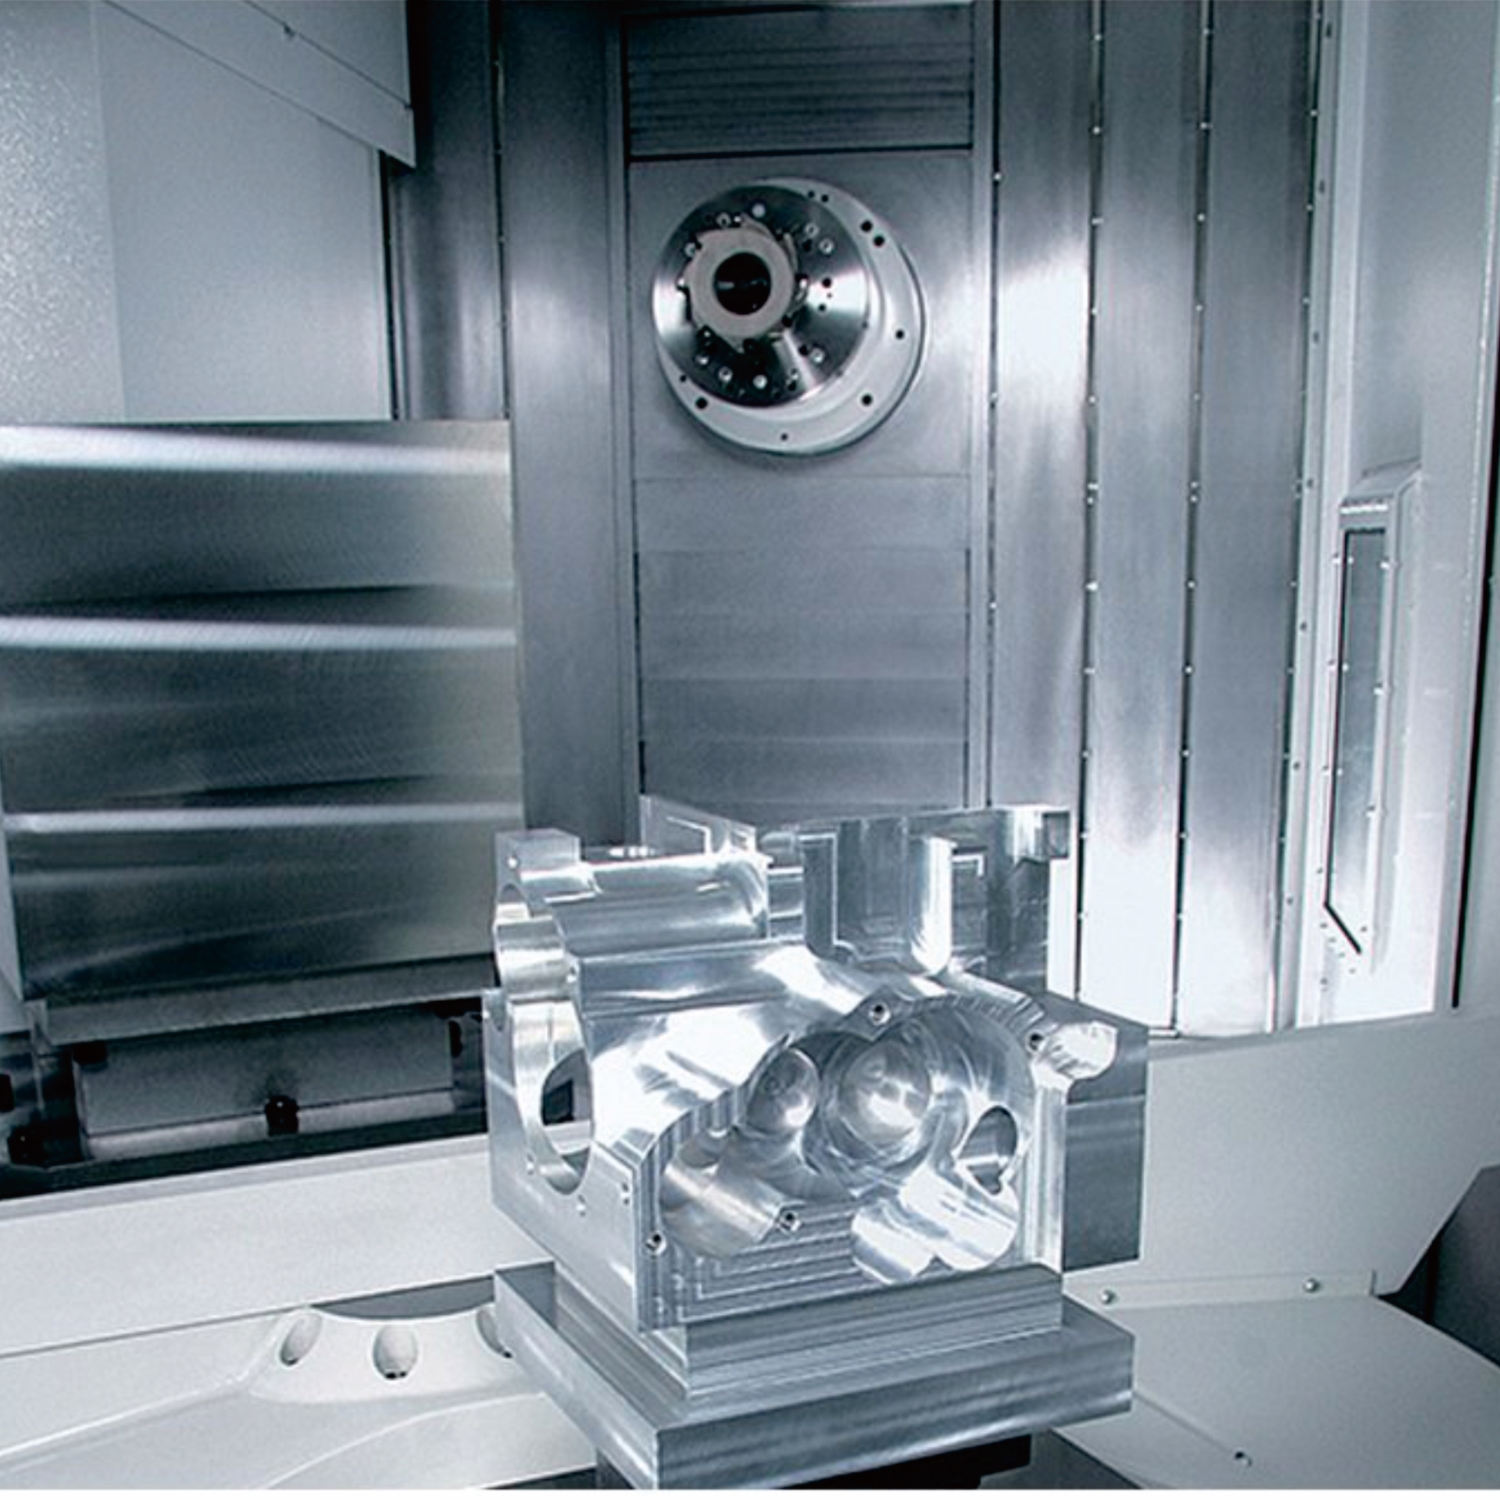
Horizontal machining center, with their multi-axis collaboration advantages, are widely used for machining complex workpieces such as boxes and brackets. Machining accuracy directly impacts the assembly performance and operational performance of the workpiece, making it a core priority for companies. This article systematically introduces effective strategies for improving the machining accuracy of horizontal machining centers, focusing on four key aspects: optimizing equipment status, precisely matching machining parameters, scientific process design, and ensuring long-term maintenance and assurance.
Optimizing Basic Equipment Status: The Hardware Foundation for Ensuring Machining Accuracy
The accuracy of a CNC horizontal machining center depends primarily on the hardware status of the equipment, particularly the spindle accuracy and guideway performance.
1. Spindle Accuracy Control: Spindle radial runout or end face runout can lead to dimensional errors. Regularly inspect the spindle bearings for wear and replace high-precision bearings if abnormal noise or vibration occurs. Perform a spindle dynamic balancing test to correct spindle imbalance and prevent vibration from affecting turning during high-speed rotation. Furthermore, maintaining a close fit between the spindle and toolholder, regularly cleaning conical surfaces, and reducing clamping errors are crucial for improving machining accuracy.
2. Guideway Performance Maintenance: Guideways are critical components for ensuring the accuracy of each moving axis. Long-term use can easily lead to wear due to chip accumulation and insufficient lubrication. Clean the guideway guards regularly to remove chips and oil, and apply special grease regularly to ensure smooth guideway movement. For localized wear, the CNC system’s backlash compensation function can be used to measure and input wear parameters, correct motion deviations, and maintain guideway positioning accuracy.
Precisely Match Machining Parameters: Reduce Turning Process Errors
Proper adjustment of machining parameters directly impacts machining stability and precision.
1. Turning Speed and Feed: Different workpiece materials require different turning parameters. For example, lower turning speeds and feeds are recommended for hard materials such as alloy steel to prevent excessive turning forces that could cause tool deformation or workpiece vibration. Lightweight materials such as aluminum alloys can be treated with higher speeds and feeds, but they must be kept within the tool’s load capacity to avoid chatter. For example, when machining 45 steel with carbide tools, a typical turning speed is 80-120 m/min, and the feed rate is controlled at 0.1-0.2 mm/r to ensure a balance between efficiency and precision.
2. Turning Depth Control: During roughing, the turning depth can be increased appropriately to quickly remove excess stock, but avoid excessive loads that could affect machine stability. During finishing, a shallow turning depth of 0.1-0.3 mm is typically used to reduce workpiece deformation caused by turning forces. High machining speeds are also used to improve surface quality and dimensional accuracy.
Scientific Process Design: Avoiding Positioning and Clamping Errors
Reasonable process design is crucial for improving machining accuracy. The key lies in reducing clamping times and optimizing turning paths.
1. Optimizing Clamping Methods: Use modular or hydraulic fixtures to ensure secure clamping and accurate positioning of the workpiece. For example, when machining a box, the bottom and side surfaces are used as reference points, secured with locating pins and clamping devices to avoid reference offset caused by multiple clamping. For easily deformed workpieces, multi-point support or elastic clamping can be used to reduce deformation errors caused by clamping stress.
2. Rationally Plan turning Paths: When machining complex contours, prioritize down milling to reduce tool-workpiece friction and surface roughness. Avoid frequent direction changes to prevent dimensional deviations caused by backlash. For high-precision hole systems, adopt a step-by-step machining strategy of “rough boring, semi-finishing boring, and finishing boring” to gradually correct errors and enhance hole position accuracy and cylindricity.
Establish a Long-Term Maintenance Mechanism: Ensure Stable Machining Accuracy
Stable machining accuracy requires scientific routine maintenance and management.
1. Regular Accuracy Inspection: Monthly, use a dial indicator and micrometer to inspect the perpendicularity of the spindle and worktable and the positioning accuracy of each axis. Quarterly, perform a comprehensive calibration of the equipment using a laser interferometer, promptly record error data, and update system compensation parameters to ensure accuracy remains within acceptable limits.
2. Tool Management and Maintenance: Maintain a tool usage log and replace tools promptly based on wear status. Before installing tools, accurately measure tool length and radius compensation values using a tool setter and input them into the CNC system to avoid machining errors caused by parameter deviations. Idle tools should be properly stored to prevent turning edge damage.
Conclusion
Improving the machining accuracy of horizontal CNC machining center is a systematic project, requiring coordinated efforts across multiple aspects, including equipment status, machining parameters, process design, and maintenance management. By optimizing the hardware foundation, scientifically matching machining parameters, rationally designing process flows, and adhering to standardized maintenance and inspection procedures, machining errors can be effectively reduced, high-precision machining can be achieved, and the complex workpiece production demands can be met. This is crucial for companies to enhance product quality and market competitiveness.
Stay current with the latest industry trends and master the latest technologies—Welcome to EMO.
From September 22nd to 26th, 2025, we sincerely invite you to visit our booth in Hall 15, Booth B54 at the EMO in Hanover, Germany, to experience the latest CNC machining center equipment. We will showcase high-precision machine tools and provide a professional team to answer your questions and help improve machining quality and efficiency. During the exhibition, we welcome face-to-face discussions with us to discuss industry innovations and solutions. We look forward to seeing you at EMO!
Post time: Sep-02-2025


