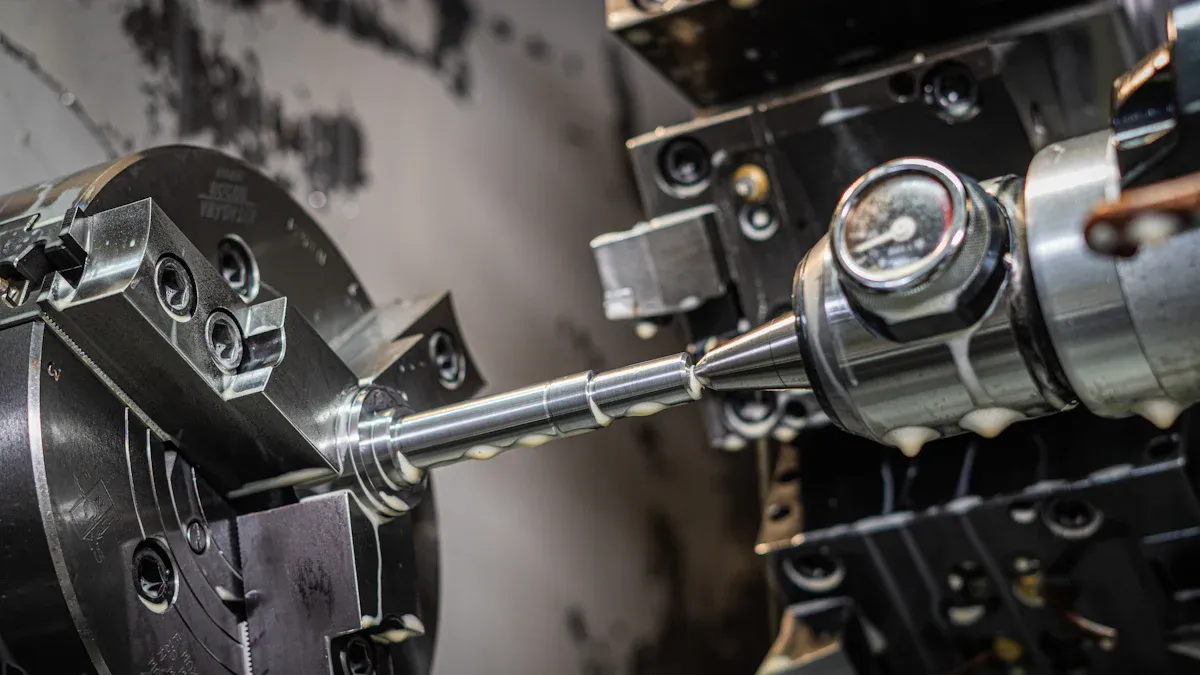
Repeatable accuracy in CNC machining signifies a machine’s ability to consistently produce identical parts. Each component precisely meets its design specifications. This consistency is paramount for Precision Machining. A modern CNC Turning Center achieves this through a combination of rigid machine construction and precise motion control. Sophisticated programming further ensures consistent output. Machines like a CNC Lathe or a Mill-Turn Machine rely heavily on these integrated systems. Understanding these foundational elements also helps address considerations such as How to calculate cycle time for a multi-axis CNC Lathe?.
Key Takeaways
- Strong machine parts and good bearings make CNC machines stable. This helps them make the same parts over and over.
- Special motors and guides help CNC machines move very precisely. This makes sure parts are the right size and shape.
- Computer programs and simulations help plan cuts perfectly. This stops mistakes and makes sure parts are made correctly.
- Sensors check parts as they are being made. They fix small errors right away to keep quality high.
- Good tools and ways to hold parts tightly help machines cut well. This makes sure every part is accurate.
The Foundation of Repeatable Accuracy: Rigid CNC Turning Center Construction
Robust Machine Frames and Bases
A CNC Turning Center achieves exceptional accuracy through its fundamental physical structure. Manufacturers build these machines with robust frames and bases. These components provide a stable platform for all machining operations. Many designs feature machine bases cast in Zanite Plus polymer concrete. This material offers significant vibration damping, great thermal stability, and superior corrosion resistance. Other designs incorporate high rigidity 45-degree cast beds. These beds often integrate a cast slant bed, flatbed, 45° inclined rail, and a thick rib design. This construction minimizes distortion and thermal deformation. Some advanced machines use a rigid dual-column structure, also known as a gantry-type. This design ensures a balanced distribution of cutting forces. It reduces deformation and enhances overall precision.
High-Quality Spindle Bearings
The spindle is the heart of a turning center. High-quality spindle bearings are crucial for repeatable accuracy. These bearings ensure the spindle rotates with minimal deviation. Manufacturers perform rigorous tests to guarantee their quality. A run-out test measures the deviation from perfectly circular movement. This test indicates rotation accuracy. Radial and axial run-out tests identify eccentricity or wobble. Even minor inconsistencies, detected with a dial indicator or advanced measuring device, reveal issues affecting machining precision. Load testing evaluates spindle performance under real-world operating conditions. It involves applying a controlled load. This test measures the spindle’s speed, vibration, and temperature responses. It helps determine the spindle’s power output or bearing capacity. It also confirms the spindle maintains performance under regular operational loads.
Advanced Vibration Dampening Systems
Vibrations can compromise machining accuracy. Advanced dampening systems counteract these unwanted movements. Damping techniques absorb and dissipate vibrations. Methods include using damping materials or devices like viscoelastic dampers or tuned mass dampers. Manufacturers integrate these into the machine structure or tooling system. They effectively reduce the amplitude of vibrations. Active vibration control systems use sensors and actuators. They monitor and counteract vibrations in real-time. These systems detect chatter and apply corrective forces. This stabilizes the machining process. While more sophisticated and costly, active vibration control is highly effective in demanding applications. Passive dampers, for example, can double spindle speed and improve surface quality for specific tasks. Semi-active dampers offer better control with a properly selected system. Active dampers, using piezoelectric transducers, achieve over 99% vibration suppression. They significantly improve surface roughness. Input Shaping Control (ISC) also suppresses vibrations. It addresses oscillations in mechanical and electronic systems. This is important for improving efficiency and dealing with increased oscillations from lightweight or high-speed designs.
Precision Motion Control in CNC Turning Centers

Precision motion control systems are vital for a CNC Turning Center to achieve repeatable accuracy. These systems translate digital commands into exact physical movements. They ensure the machine components move to the correct positions with extreme precision. This precise movement directly impacts the final part’s dimensional accuracy and surface finish.
High-Resolution Servo Motors
High-resolution servo motors drive the precise movements of CNC turning centers. These motors offer exceptional control over speed and position. Their resolution can be on the order of hundreds of thousands of steps per revolution. This provides thousands of times higher resolution compared to traditional stepper motors. Servo motors also maintain nearly all their torque even at maximum speed. Some servo motors can almost double their rated torque for brief periods. For machine tool applications, the rated torque is the commonly accepted specification. This power and precision allow for smooth, accurate, and rapid axis movements.
Accurate Ball Screws and Linear Guides
Accurate ball screws and linear guides convert the rotary motion of servo motors into linear motion. Ball screws feature precision-ground threads and recirculating balls. This design minimizes friction and backlash. Backlash compensation values for CNC ball screws can range from 0.001 to 0.005 inches. A user reported holding 0.0005 inches with a machine having up to 0.005 inches of backlash. However, a backlash compensation value exceeding 0.004 inches may indicate a need to check or replace ball screw bearings. Acceptable mechanical play should be less than 0.003 or 0.004 inches. Anything 0.002 inches or less is electronically compensable. Linear guides provide rigid, low-friction support for moving components. Machine tools often use high precision or super precision classes for these guides. The ‘SP super precision class’ for linear guides is associated with a tolerance of 2 microns. These components ensure smooth, accurate, and consistent linear travel.
Real-time Positional Feedback with Linear Encoders
Real-time positional feedback systems continuously monitor the exact location of machine axes. Linear encoders are critical components in this system. They provide highly accurate position data directly from the moving axis. Renishaw’s RESOLUTE™ absolute encoder measures position with resolutions down to 1 nm and speeds up to 100 m/s. Renishaw’s FORTiS™ linear encoder supports fine positional increments, enabling high-resolution machining. Glass scale linear encoders are favored for their high resolution, often in the sub-micron range. They provide real-time position feedback, enabling micron-level accuracy in cutting. This constant feedback allows the control system to detect and correct any minute deviations instantly. This ensures the machine maintains its programmed path with exceptional accuracy.
Advanced Programming and CAD/CAM Integration for CNC Turning Centers
Advanced programming and CAD/CAM integration are crucial for a CNC Turning Center to achieve repeatable accuracy. These systems translate design concepts into precise machine instructions. They ensure the machine executes complex operations flawlessly.
Precise Toolpath Generation
CAD/CAM software generates precise toolpaths. This process begins with geometric modeling, creating a digital representation of the part’s geometry. It defines shapes, dimensions, and features for accurate machining. Path planning then determines the optimal tool route. This considers efficiency, tool wear, and collision avoidance. Advanced algorithms reduce redundant motions and shorten machining time. Interpolation calculates intermediate points for smooth tool movement along curves and complex shapes. This ensures accurate and controlled movements. Techniques like adaptive clearing dynamically adjust cutting parameters. This maintains constant tool engagement, minimizing tool wear and improving efficiency. High-speed machining (HSM) focuses on maintaining high speeds and efficient material removal without compromising accuracy.
Simulation and Verification Software
Simulation and verification software prevents machining errors. It creates a virtual environment to verify programs and simulate machining. This reduces accident risks. The software performs collision detection, simulating tool-workpiece interactions. It identifies collisions, allowing G-code changes before export. This prevents tool breakage. It also detects programming errors, including syntax and cuspidal/pinch point issues in CNC programs. This virtual testing saves costs by preventing real-life collisions. It eliminates the need for machine prove-outs. This process ensures increased precision by verifying and optimizing toolpaths before actual machining.
Error Minimization through Software Algorithms
Software algorithms minimize errors and optimize machining processes. AI-based optimization utilizes complex algorithms. These algorithms analyze vast amounts of manufacturing data. They identify patterns and autonomously optimize parameters like feed rate, cutting speed, and tool paths. AI-powered Computer-Aided Manufacturing (CAM) software automatically generates CNC programs from CAD models. AI algorithms optimize machining parameters, tool paths, and cutting speeds. This leads to reduced cycle times, improved tool life, and higher-quality outputs. AI also enables predictive maintenance. It analyzes sensor data to detect potential failures early, minimizing downtime.
In-Process Measurement and Feedback Systems in CNC Turning Centers
In-process measurement and feedback systems are essential for a CNC Turning Center to maintain repeatable accuracy. These systems monitor machining operations in real-time. They detect and correct deviations, ensuring consistent part quality.
Automated Touch Probes for Part Inspection
Automated touch probes perform critical part inspection directly on the machine. These probes verify part dimensions and features during the machining process. Manufacturers select touch probes based on their accuracy and repeatability. The OMP600 touch trigger probe, for example, offers a repeatability of 1.00 μm 2σ, demonstrating high precision. Factors like stylus length and material directly impact the probe’s trigger characteristics, affecting its overall accuracy. Thorough testing ensures the chosen probes meet stringent quality standards.
Laser Tool Setters for Tool Measurement
Laser tool setters provide precise, non-contact tool measurement. This method eliminates contact force issues, preventing damage to delicate tools. They accurately measure very small tools. Laser setters improve accuracy by measuring tools in a state similar to actual machining, often at high-speed rotation. They can scan tool contours and monitor damage on individual edges of multi-blade tools. This facilitates contour measurement and monitoring for forming tools, automating parameter updates. However, laser tool setters feature complex internal structures and require an additional high-quality air source for internal protection. Their high initial cost primarily suits them for five-axis high-speed machining centers.
Real-time Compensation for Deviations
Real-time compensation systems actively correct for deviations during machining. These systems build thermal error models using techniques like linear regression, machine learning algorithms, deep attention residual networks, and Gaussian Process Regression. A novel surrogate compensation architecture has also been developed. Experiments on a CK40S CNC lathe, for instance, focused on compensating for thermal drift along the X-axis. Pt100 temperature sensors measured thermal errors automatically with a dial indicator every five minutes over an eight-hour period. The surrogate method demonstrated superior performance in machining verification, outperforming conventional multiple linear regression (MLR) methods. This leads to better compensation effects and improved surface quality. These models predict thermal errors in real-time, then decompose them to the relevant feed axes for compensation. The accuracy of compensation directly links to the prediction accuracy of these models.
Optimized Tooling and Workholding for CNC Turning Centers

Optimized tooling and workholding are critical for a CNC Turning Center to achieve repeatable accuracy. These elements directly influence machining stability, part quality, and overall efficiency.
Selection of High-Performance Cutting Tools
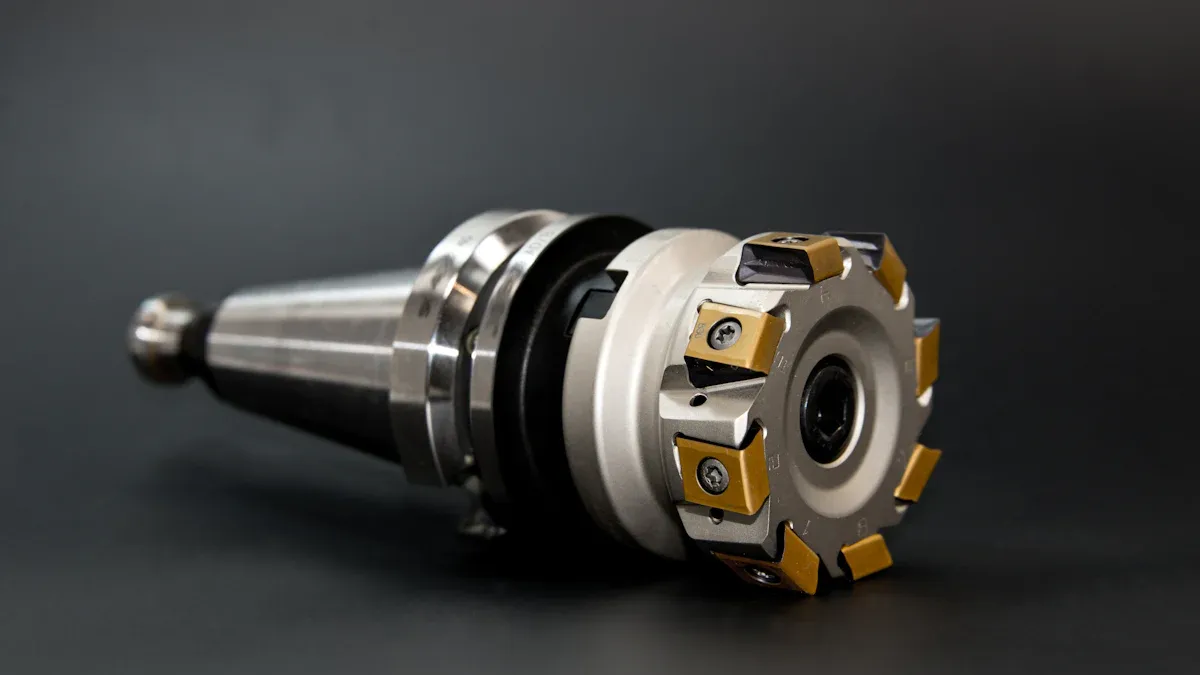
Selecting high-performance cutting tools significantly impacts accuracy and surface finish. Tool geometry plays a vital role. Higher helix angles (35°-45°) produce smoother finishes on soft materials, while lower angles (20°-30°) suit harder metals. Fewer flutes (2-3) improve chip removal in soft materials, but more flutes (4-6) enhance surface finish in harder alloys. Cutting edge design also matters; sharp edges reduce cutting force for plastics and aluminum, while honed edges provide strength for steel. Tool coatings like TiN extend tool life, and TiAlN/AlTiN offer excellent heat resistance for high-speed machining. DLC is ideal for graphite, carbon fiber, and non-ferrous metals. Uncoated carbide works well for soft materials and low-speed applications. Insert grades, such as P-grade for steel or M-grade for stainless steel, and insert shapes like CNMG for general turning, further optimize performance.
Secure and Repeatable Workholding Mechanisms
Secure and repeatable workholding mechanisms ensure part stability during machining. Collet chucks offer superior precision and grip for smaller round workpieces by evenly distributing clamping pressure. They provide excellent concentricity, suitable for high-speed machining. Three-jaw chucks are self-centering and ideal for regular shapes. Four-jaw chucks accommodate eccentric or irregular workpieces. Pneumatic and hydraulic clamping systems use pressurized air or fluids for uniform force across multiple points, ideal for repetitive tasks. Magnetic workholding utilizes magnetic chucks for ferrous materials, offering quick setups and full access for five-sided machining. Vacuum workholding secures parts using atmospheric pressure, effective for flat or thin materials, minimizing distortion with uniform clamping force. Clamping force must always exceed cutting force without deforming the part.
Tool Wear Monitoring and Management
Effective tool wear monitoring and management maintain consistent accuracy. Automated monitoring systems use sensors and machine vision for real-time tool condition tracking. These systems detect wear and provide feedback for adjustments. Laser and optical scanning precisely measure changes in tool geometry to determine wear. Sonic methods and vibration detection analyze machining sounds and vibrations to identify abnormal signals. Regular inspection and maintenance, including timely replacement of worn tools, are fundamental. Tool cooling and lubrication minimize friction, reducing wear. Optimizing cutting parameters, such as adjusting speed, feed, and depth of cut, also helps reduce wear. High-end machines feature automatic tool replacement systems, reducing manual intervention and enhancing efficiency. Predictive maintenance, using big data analysis, forecasts tool wear, allowing scheduled replacements and preventing downtime.
The combination of robust construction, precise motion control, intelligent programming, and real-time feedback systems ensures consistent, high-quality output. This integrated approach guarantees repeatable accuracy. Repeatable accuracy is paramount for modern manufacturing. It significantly enhances efficiency and product quality. AI and advanced analytics cut production inefficiencies, optimize workflows, and detect defects faster. Predictive maintenance, enabled by AI, ensures machines run smoothly, minimizing downtime and improving overall equipment effectiveness. Advanced quality control systems catch defects early, reducing rework and ensuring consistent product standards.
FAQ
What does “repeatable accuracy” mean in CNC turning?
Repeatable accuracy means a CNC turning center consistently produces identical parts. Each component precisely meets its design specifications. This consistency is crucial for high-quality manufacturing and efficient production.
How do rigid machine frames improve accuracy?
Rigid machine frames and bases provide a stable platform. They minimize vibrations and thermal distortion during machining operations. This robust construction ensures the machine components maintain their precise positions, directly contributing to repeatable accuracy.
What is the function of high-resolution servo motors?
High-resolution servo motors drive the precise movements of CNC turning centers. They offer exceptional control over speed and position. These motors enable smooth, accurate, and rapid axis movements, which are vital for achieving the final part’s dimensional accuracy.
How does CAD/CAM integration enhance repeatable accuracy?
CAD/CAM integration generates precise toolpaths and simulates machining processes. This prevents errors and optimizes operations before actual production. It ensures the machine executes complex instructions flawlessly, leading to consistent and accurate part output.
Why are in-process measurement systems important?
In-process measurement systems, like touch probes and laser tool setters, monitor machining operations in real-time. They detect and correct deviations instantly. This continuous feedback ensures the machine maintains its programmed path, guaranteeing consistent part quality and repeatable accuracy.
Post time: Dec-10-2025


